Subfloor Preparation: The Most Critical Step Nobody Talks About
- Share
- publisher
- Cathy
- Issue Time
- Aug 6,2026
Summary
Before a single vinyl plank goes down, the subfloor determines whether your floor lasts 20 years or fails in two. This comprehensive guide covers concrete and wood subfloor preparation, ASTM moisture testing standards (F2170 & F1869), flatness tolerances, common contractor mistakes, and a complete prep checklist for professional vinyl flooring installations.
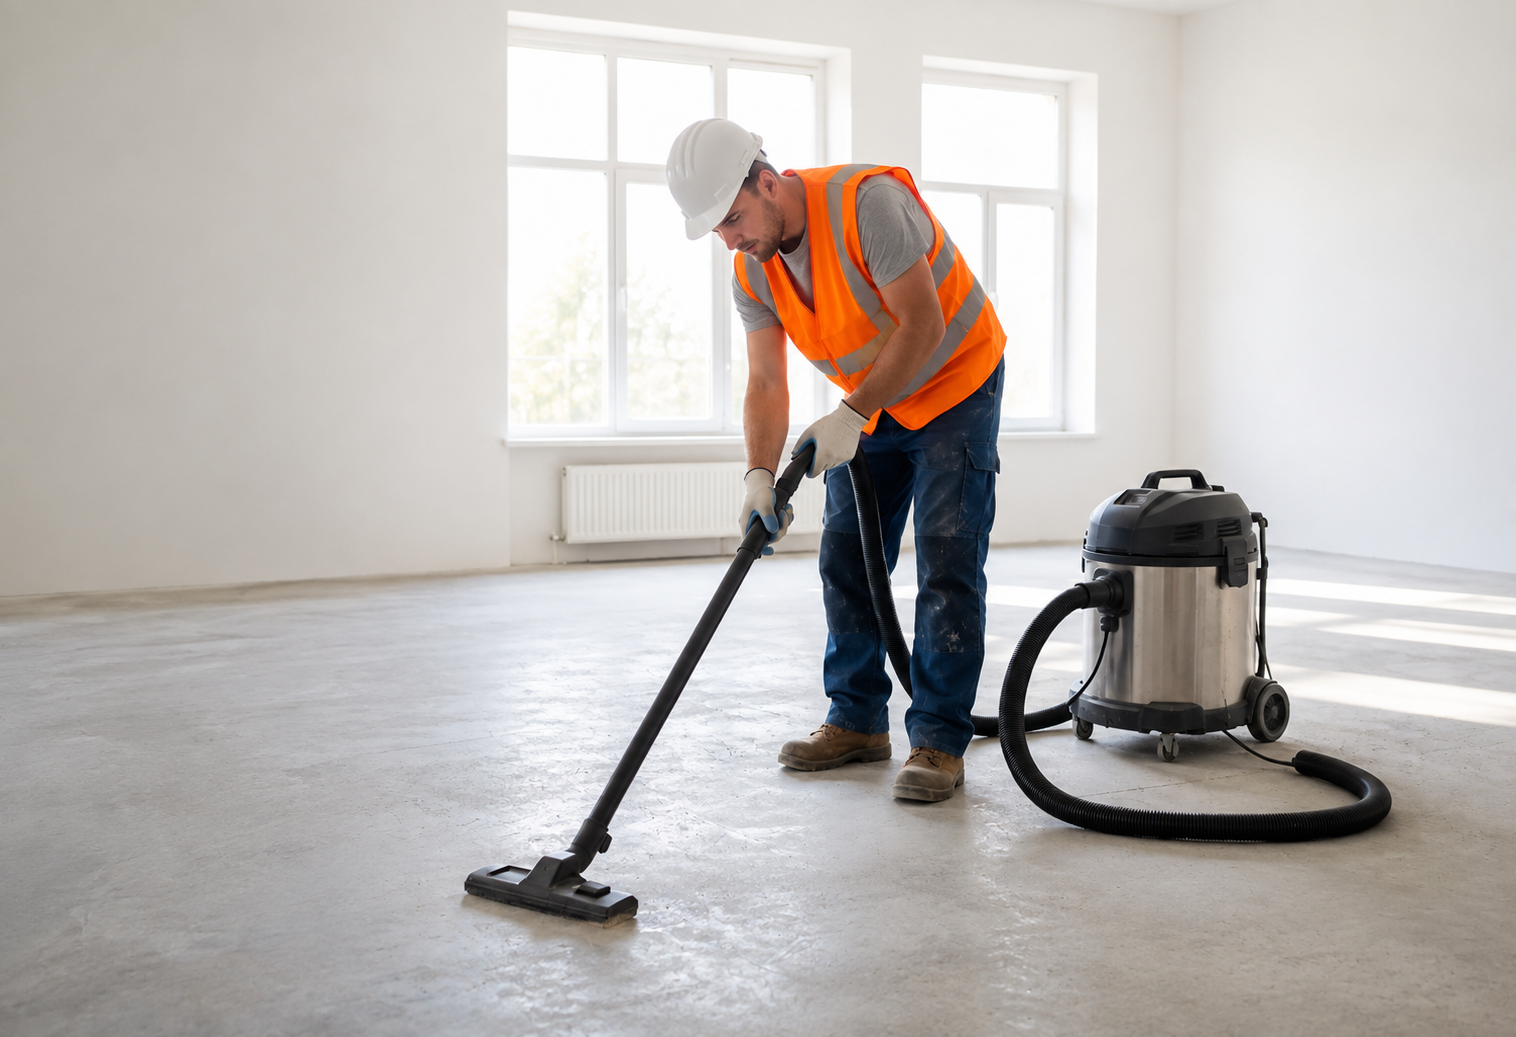
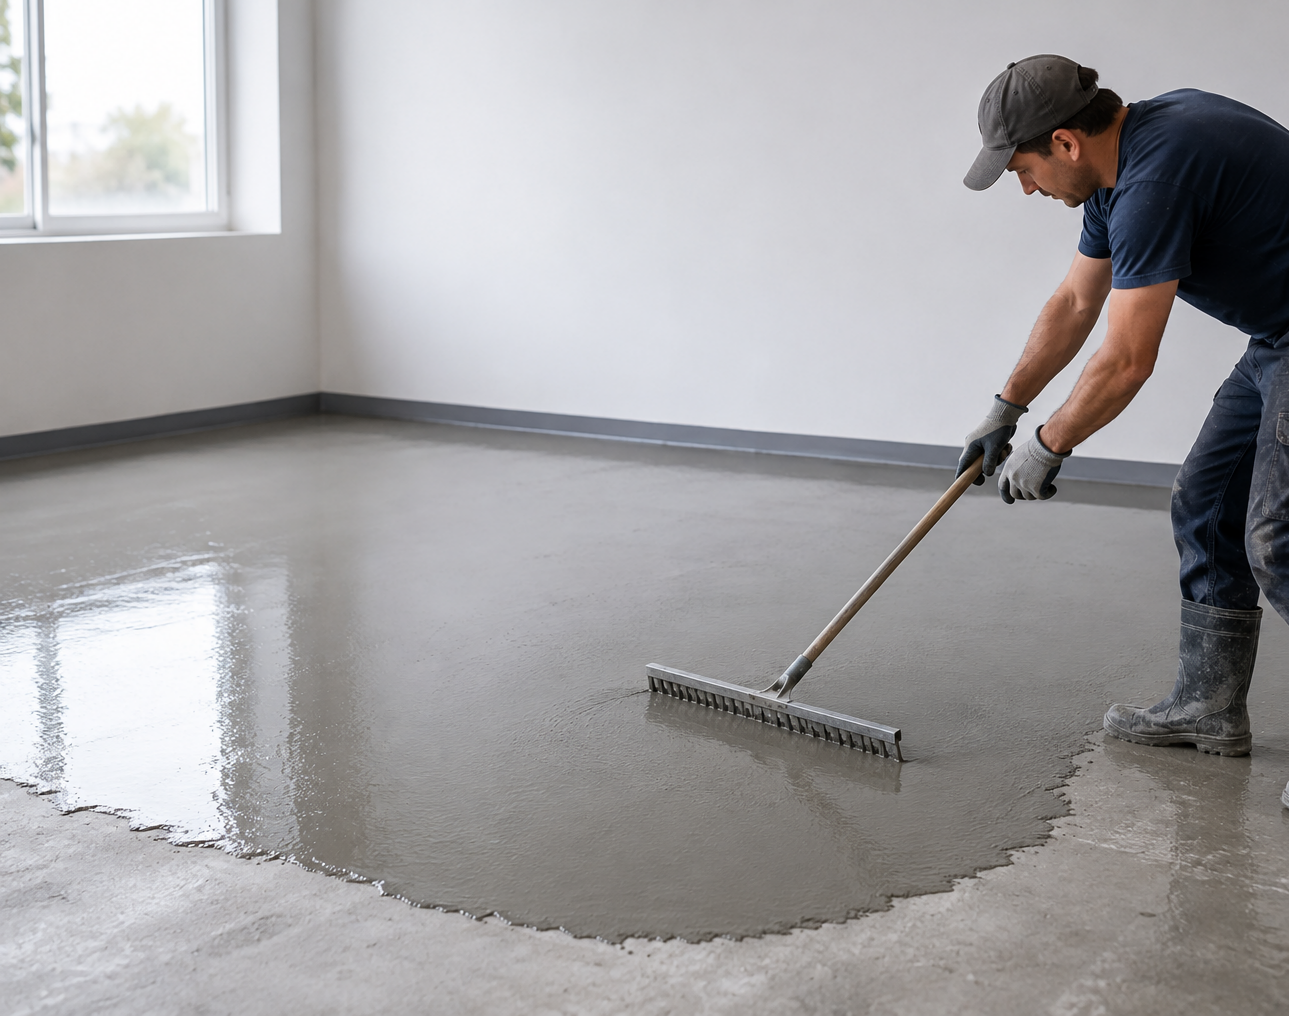
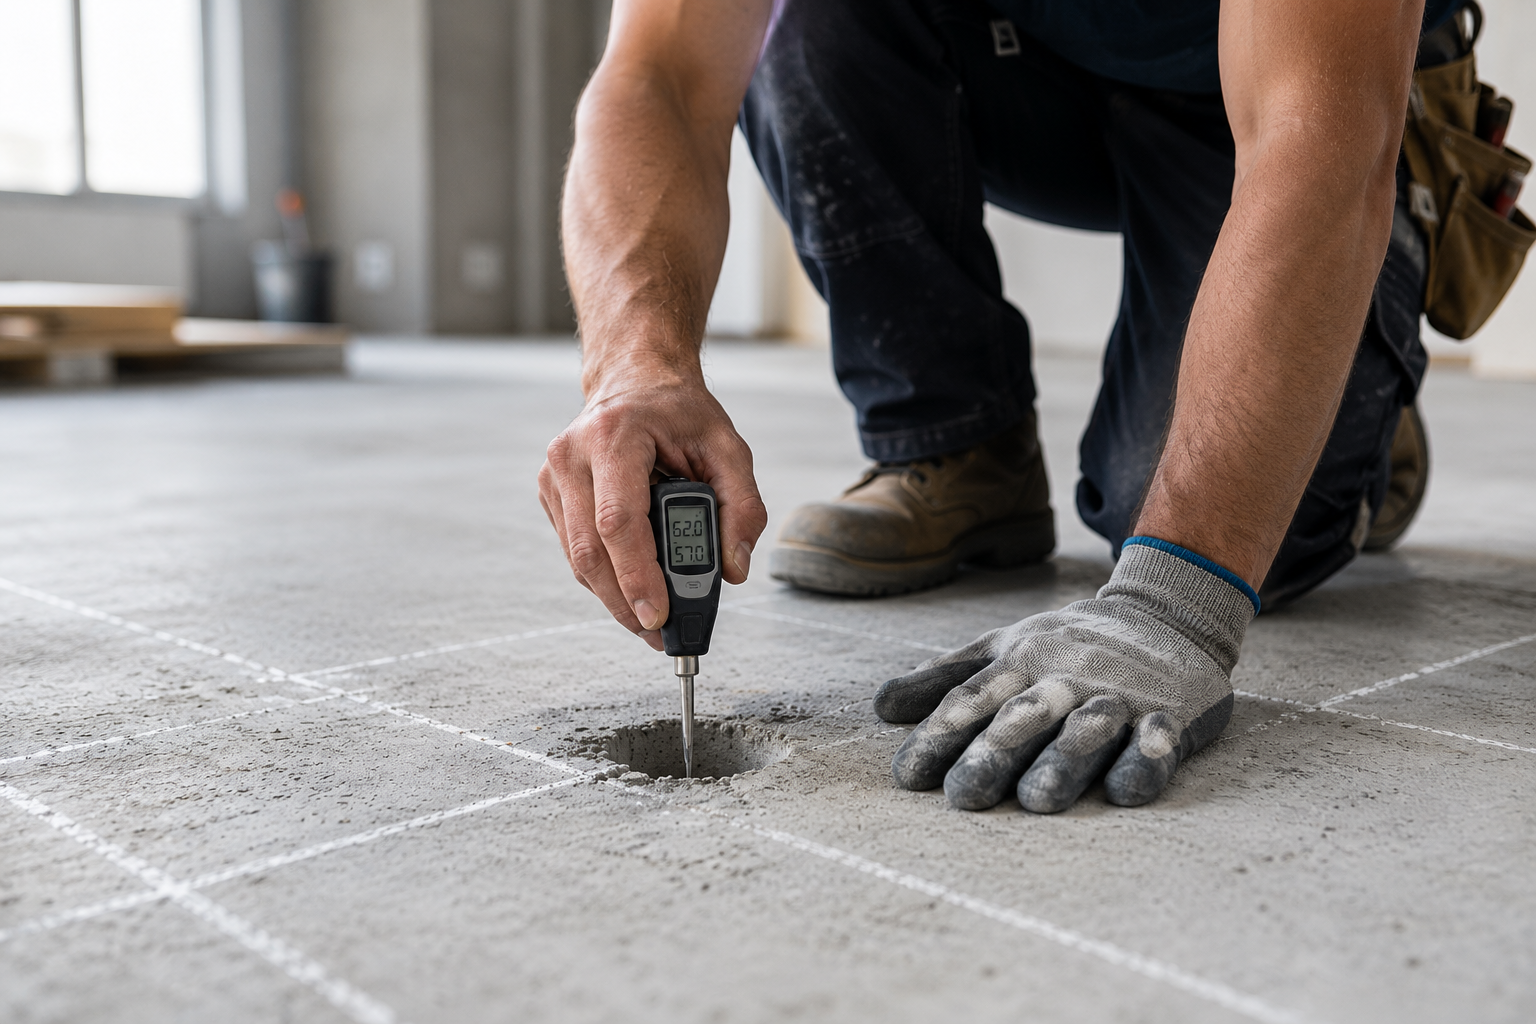
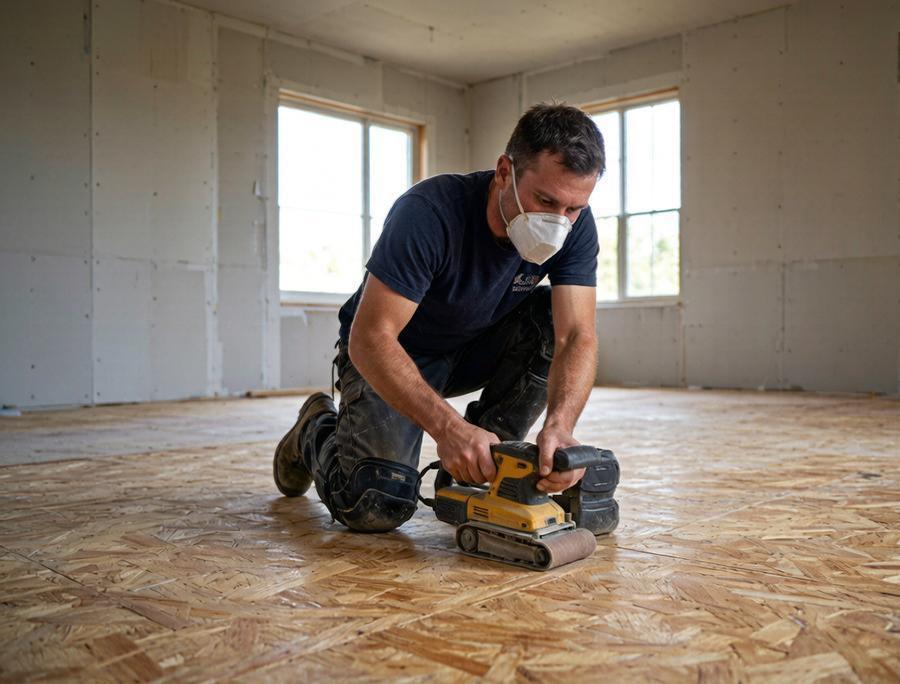
A vinyl plank floor can look perfect on the day it is installed. Six months later, the planks begin to buckle, the edges curl upward, and a musty odor starts coming from beneath the floor. The flooring itself wasn't defective, and the installer may have followed every installation instruction correctly. The real problem was hidden underneath—the subfloor. Proper subfloor preparation is one of the most important factors affecting the long-term performance of vinyl flooring. Most installation failures occur because the substrate was not properly tested for moisture, checked for flatness, repaired, or cleaned before installation. Based on our experience supplying vinyl flooring for commercial and residential projects worldwide, improper subfloor preparation remains one of the leading causes of premature flooring failures, resulting in costly repairs, project delays, and warranty claims. Whether you're installing SPC flooring, LVT flooring, or glue-down vinyl plank flooring, this guide explains how to prepare concrete and wood subfloors, perform ASTM-compliant moisture testing, verify flatness tolerances, and avoid the installation mistakes that can shorten the life of a new floor. Most vinyl flooring products, including LVT and SPC flooring, range from approximately 2 mm to 8 mm in thickness, making them highly dependent on the condition of the subfloor beneath. Every bump, dip, crack, or piece of debris can telegraph through the finished surface, creating visible imperfections, uneven wear, and even potential trip hazards. The greater concern, however, is moisture. Even fully cured concrete remains porous and allows moisture vapor to migrate through the slab over time, even when the surface appears completely dry. Installing vinyl flooring over an untested or improperly prepared subfloor can trap excessive moisture beneath the flooring system. Over time, this weakens adhesive bonds, contributes to dimensional instability, and creates favorable conditions for mold and mildew growth. The difference between a vinyl floor that performs reliably for decades and one that fails prematurely is rarely the flooring itself; it is the quality of the subfloor preparation. Proper moisture testing, floor leveling, and surface cleaning are not optional best practices; they are manufacturer requirements that directly affect installation performance, warranty coverage, and long-term customer satisfaction. Key Takeaway: A vinyl floor is only as good as the subfloor beneath it. Before installation, always verify that the substrate is dry, flat, clean, and structurally sound. Investing extra time in subfloor preparation is far less costly than repairing a failed floor later. Different substrates require fundamentally different preparation approaches. Identifying your subfloor type is step one. Concrete is the most common substrate for vinyl flooring, particularly in commercial buildings, basements, and ground-level installations. A successful installation starts with concrete that is fully cured, structurally sound, clean, and dry. Minor surface cracks can usually be repaired, but loose or deteriorated concrete should always be addressed before installation. Most concrete slabs require at least 60 days of curing before moisture testing, although the actual drying time depends on slab thickness, mix design, and environmental conditions. Existing concrete presents a different set of challenges, including adhesive residue, curing compounds, paint, sealers, and oil contamination, all of which should be mechanically removed to ensure proper bonding. Plywood and oriented strand board (OSB) are the most common wood subfloors for vinyl flooring. They should be flat, dry, structurally sound, and securely fastened to eliminate movement. Loose panels, protruding fasteners, squeaks, and damaged sections should be repaired before installation. Because wood naturally expands and contracts with seasonal humidity changes, both the subfloor and the vinyl flooring should be properly acclimated according to the manufacturer's recommendations. Installing vinyl flooring over an existing floor can save time and labor, but only when the existing surface is stable and in good condition. The old flooring must be smooth, firmly bonded, and free from peeling, curling, bubbling, or other signs of failure. Covering an unstable substrate rarely solves the problem—it simply transfers it to the new floor. If there is any doubt about the condition of the existing flooring, removing it down to the structural subfloor is usually the more reliable long-term solution. Regardless of the substrate type, the objective is always the same: create a stable, flat, dry, and clean surface that allows the new vinyl flooring to perform as intended for years to come. Key takeaway: Never assume a subfloor is ready simply because it looks clean. Moisture, flatness, and structural stability should always be verified before installation. Here is a critical distinction that catches many contractors off guard: vinyl flooring requires flatness, not levelness. A floor can be sloped and still be perfectly flat enough for vinyl plank installation. What matters is eliminating bumps and dips, not making the floor perfectly horizontal. The industry standard flatness tolerance for vinyl flooring is 3/16 inch over a 10-foot span (approximately 4.8mm over 3 meters). Some manufacturers specify an even tighter tolerance of 1/8 inch over 6 feet. Variations greater than this must be corrected before installation begins. How to check: use a 6-foot or 10-foot straightedge. Lay it on the subfloor in multiple directions, sliding a feeler gauge or coin underneath. If you can slide a single quarter (about 1/16 inch) under the straightedge, that is acceptable. If you can slide a stack of three quarters (about 3/16 inch), you are at the limit. Anything beyond that requires flattening. Never use thin-set mortar or materials not specifically designed for subfloor leveling. They are not formulated to handle the stresses that vinyl flooring places on the substrate. Moisture is the silent killer of vinyl flooring installations. A concrete slab that looks and feels completely dry on the surface can still be transmitting significant moisture vapor from below. When you seal that slab with an impermeable floor covering like vinyl, the vapor has nowhere to go. It accumulates at the bond line, emulsifies adhesives, and creates the conditions for mold growth. Moisture testing is not optional. It is a required step in every professional installation, and skipping it voids the manufacturer warranty from the moment of installation. ASTM F2170 is the current industry-preferred standard and the most accurate predictor of whether a slab is dry enough to receive flooring. Holes are drilled into the slab to 40% of its depth (for slabs drying from one side). Sleeves are inserted, and after a minimum 24-hour equilibration period, an RH probe reads the internal relative humidity. Threshold: Most vinyl flooring manufacturers require RH of 75% to 85%, depending on the product. Install above the threshold, and you have voided the warranty. ASTM F1869 measures the rate of moisture vapor emission from the concrete surface over 60 to 72 hours. An anhydrous calcium chloride dish is sealed to the floor surface. The weight gain indicates the emission rate in pounds per 1,000 square feet per 24 hours. Threshold: Most resilient flooring manufacturers require MVER of 3 lbs or less per 1,000 sq ft per 24 hours. Some products allow up to 5 lbs. ASTM F2170 should be your primary test. It measures conditions deep inside the slab, not just at the surface. The calcium chloride test (F1869) can pass a slab that the deeper RH test would fail, because surface readings do not reflect what is happening at depth. For commercial projects with impermeable floor coverings, F2170 is the defensible standard. Use F1869 as a supplementary check when the product specification requires it. Minimum 3 tests for the first 1,000 square feet, plus 1 additional test per 1,000 square feet thereafter. Tests must be performed under permanent HVAC conditions at representative occupied-building temperature and humidity. Testing must be completed before flooring installation begins. Concrete subfloors are the most common substrate for commercial vinyl flooring. Here is the professional preparation sequence: Walk the entire floor. Look for cracks, spalling, oil stains, paint overspray, old adhesive residue, and curing compounds. Identify any areas with visible water damage and trace the source. Check for sealer or densifier on the surface by scratching with a coin; if it comes up chalky, the surface may need mechanical preparation. Never skip this. Run ASTM F2170 RH tests (primary) and ASTM F1869 calcium chloride tests (supplementary) per the manufacturer's guidelines. For a quick field screening, tape a 2-foot square of clear plastic to the slab and leave it for 24 to 72 hours. Condensation underneath means the concrete is too wet for installation. Scrape off old adhesive, paint, wax, grease, and curing compounds. Use a floor grinder with a dust shroud for large areas. Never dry-scrape old black mastic aggressively; some older cutback adhesives contained asbestos and require professional remediation. Remove or countersink all fasteners, staples, and nails. Chase out hairline cracks with a grinder to give the filler something to grip. Vacuum the dust. Fill with a cementitious crack filler or fast-set patch such as Ardex Feather Finish or Henry 547. Feather the edges so no ridge remains. Small dips under 1/4 inch can be skim-patched with a trowel. When multiple low areas exist or the slab exceeds the 3/16-inch-over-10-feet tolerance, pour self-leveling underlayment across the entire room rather than chasing individual spots. Prime the bare concrete with the SLU manufacturer's primer and let it get tacky (30 minutes to 3 hours). Mix the SLU with cold water to a lump-free slurry using a paddle mixer. You have about 10 to 15 minutes of working time. Pour, spread with a gauge rake, and break surface tension with a smoother. Most self-levelers are walkable in 2 to 4 hours and ready for flooring in 16 to 24 hours. For glue-down installations, roll on a concrete primer to improve adhesive bond and lock down residual dust. Do a final HEPA vacuum so not a speck of grit sits between the adhesive and the plank. Bring the vinyl into the room and let it acclimate flat in its boxes for 48 hours at 65 to 85 degrees F with normal indoor humidity. Wood subfloors require a different approach. The goal is a stable, flat, dry, and clean surface that will not flex underfoot. Check for loose boards, squeaks, protruding fasteners, and significant flexing. Any board that flexes underfoot by more than 3mm needs to be fixed or replaced. Screw down squeaky boards firmly rather than nailing; nails work loose over time. Drive all screw heads below the surface. Use a pin-type or pinless moisture meter to check wood moisture content. Typical acceptable ranges are 6% to 12%, depending on species and climate. The subfloor and the vinyl product should be within 4% moisture content of each other. If readings are too high, delay installation, address humidity sources, and allow additional acclimation time. Remove wax, oils, varnishes, and other finishes that could hinder adhesion or leveling compounds. Old carpet grippers leave nail holes and raised tack strips. Remove them entirely and pull nails flush or tap them below the surface. Sand high spots with a belt sander. Fill gaps between boards with a flexible wood filler that moves with seasonal expansion and contraction. For widespread unevenness, lay sheets of 6mm or 9mm plywood across the boards, screwed every 150mm, with a 1/4-inch expansion gap at the perimeter. Never skim-coat leveling compound directly onto floorboards; it cracks because boards move with temperature and humidity changes. Vacuum thoroughly. Run your hand across the entire surface. If you can feel a ridge, it needs more sanding. The goal is a surface that feels as flat and smooth as glass. If you can feel it, the vinyl will show it. Then acclimate the vinyl product in the space for 48 to 72 hours. The underlayment and vapor barrier system you choose depends on the subfloor type, the vinyl product, and the installation method (floating, glue-down, or loose lay). Install a 6-mil polyethylene vapor barrier when required by the product or local conditions, particularly on slabs with potential moisture migration. For floating installations, use an underlayment with a built-in moisture barrier and sound-dampening properties. For glue-down systems, rely on a stable, dry substrate with a primer rather than excessive underlayment bulk. A moisture-resistant underlayment with a thin vapor barrier may be required on top of the wood. In high-humidity areas or moisture-prone environments, choose an underlayment with integrated moisture protection and acoustic properties. Pay attention to seam overlaps and tape quality to prevent moisture intrusion and edge telegraphing. Always confirm underlayment compatibility with the specific vinyl product. UltraSurfaceFloor's SPC and LVT product lines are engineered to pair with specific underlayment systems to deliver optimal acoustic and moisture performance. Most flooring failures are preventable. Here are the eight most common subfloor preparation mistakes we see in the field, along with how to avoid them: This is the number one cause of vinyl flooring failure. A slab that looks dry on the surface may still have elevated moisture emissions. Installing without documented test results voids the manufacturer warranty from day one. Always test, always document. An uneven subfloor creates voids under the planks. Those voids become weak spots where planks flex, locking mechanisms wear out, and the floor ultimately fails. Always verify flatness with a straightedge in multiple directions before installation. Non-compatible compounds affect adhesion and durability. Never use thin-set mortar, standard wall filler, or materials not specifically designed for subfloor leveling. They are too brittle and crack under foot traffic. Even a thin layer of dried adhesive can create uneven spots and affect bonding. Scrape or grind old glue flat. Do not leave old underlayment down and try to install on top of it; most manufacturers void the warranty if vinyl is laid over a pre-existing soft layer. New concrete needs 60 to 90 days to fully cure before you even test moisture. Rushing a green slab is the classic mistake that dooms an installation, because the concrete is still releasing water from the mixing process for weeks after it looks and feels dry on top. Loose boards, squeaks, and protruding fasteners will telegraph through thin vinyl. Screw down loose boards, drive fasteners below the surface, and fill gaps before installation. Dust, grit, and debris left on the subfloor create bumps under the finished floor and interfere with adhesive bonding or locking mechanisms. A final HEPA vacuum is not optional. Not a speck of grit should sit between the adhesive and the plank. Every vinyl plank product has specific acclimation requirements, typically 48 to 72 hours in the installation space at 65 to 85 degrees F. Skipping acclimation causes planks to shrink and gap or expand and buckle after installation. The numbers tell the story. A moisture-related flooring failure on a commercial project can cost tens or hundreds of thousands of dollars in removal, remediation, and reinstallation. And the financial responsibility falls squarely on the contractor who skipped the testing. Manufacturer warranties specifically exclude damage caused by moisture exceeding published installation limits. If flooring is installed over a slab with moisture levels above specification, the warranty is void from the moment of installation, regardless of when the failure manifests. Pre-installation moisture testing documentation is the only evidence that installation conditions complied with warranty requirements. On commercial projects, the general contractor, the flooring subcontractor, or both may be held responsible for replacement costs. The flooring product almost never fails; what fails is the untested, unprepared substrate beneath it. The time and cost of proper subfloor preparation, including moisture testing, flatness correction, and surface cleaning, is a fraction of the cost of a single callback. Doing it right the first time is not just professional best practice; it is the cheapest insurance policy you can buy. Use this checklist on every vinyl flooring installation to protect your warranty, your reputation, and your bottom line. Proper subfloor preparation is not a step you can afford to skip. It is the foundation upon which every successful vinyl flooring installation is built. Whether you are installing LVT in a residential kitchen or SPC planks across a 10,000-square-foot commercial facility, the principles remain the same: test for moisture, verify flatness, clean thoroughly, and document everything. At UltraSurfaceFloor, we engineer our PVC, SPC, and LVT flooring products to deliver exceptional durability and performance, but even the best flooring cannot overcome a poorly prepared subfloor. By following the standards and procedures outlined in this guide, you ensure that your installations perform as intended for their full design life, protect your warranty, and build the kind of reputation that generates referrals rather than callbacks. Need technical support or product specifications for your next commercial flooring project? Contact UltraSurfaceFloor for expert guidance on subfloor-compatible vinyl flooring solutions.Why Subfloor Preparation Is the Foundation of Every Successful Flooring Installation
Understanding Subfloor Types: Concrete, Wood, and Existing Flooring
Concrete Subfloors
Wood Subfloors
Existing Flooring as a Substrate
The Flatness Standard: What "Level Enough" Really Means
How to Correct Flatness Issues
Moisture Testing: ASTM F2170 vs ASTM F1869 Explained
ASTM F2170 — In-Situ Relative Humidity Testing
ASTM F1869 — Calcium Chloride Moisture Vapor Emission Rate (MVER)
Which Test Should You Use?
Test Frequency
What to Do When Moisture Exceeds Limits
Concrete Subfloor Preparation: A Step-by-Step Contractor Guide
Step 1: Inspect and Assess
Step 2: Moisture Test Before Anything Else
Step 3: Remove Contaminants
Step 4: Fill Cracks and Patch Low Spots
Step 5: Level With Self-Leveling Underlayment
Step 6: Prime, Vacuum, and Acclimate
Wood Subfloor Preparation: Securing, Smoothing, and Sealing
Step 1: Inspect for Structural Issues
Step 2: Measure Moisture Content
Step 3: Remove Surface Contaminants
Step 4: Sand and Level
Step 5: Final Clean and Acclimate
Choosing the Right Underlayment and Vapor Barrier
For Concrete Subfloors
For Wood Subfloors
Underlayment Material Types
8 Common Subfloor Preparation Mistakes That Void Warranties
1. Skipping Moisture Testing Entirely
2. Ignoring Flatness Tolerances
3. Using Incorrect Patching Materials
4. Failing to Remove Old Adhesive Residue
5. Installing Over a Green Concrete Slab
6. Not Addressing Wood Subfloor Movement
7. Skipping the Final HEPA Vacuum
8. Ignoring Manufacturer Acclimation Requirements
The Real Cost of Skipping Subfloor Prep: Callbacks and Liability
Contractor's Subfloor Preparation Checklist

Pre-Installation
Subfloor Assessment
Moisture Testing
Flatness and Leveling
Cleaning and Final Prep
Vapor Barrier and Underlayment
Final Verification